its.chloeh TikTok
Check out its.chloehTiktok analytics report
Chloe Huang
@its.chloehNO 1098
Global Rank730.47K
Followers477
Videos113.95M
Views17.87M
LikesRelative Keyword
Influence analysis
its.chloeh tiktok Introduction
its.chloeh is a tiktok influencers from the United Kingdom with 730468 followers. His/her video classification is Public Figure in tiktok. Many people who follow him/her are because of his/her classification. He/She has published more than 477 videos, with a cumulative total of 17869636 likes, and a total of 730468 fans. In the current tiktok ranking in the United States, he/she ranks No. United Kingdom and ranks No. 1098 globally.
Here are some more information about its.chloeh:
tiktok homepage link:https://www.tiktok.com/@its.chloeh
Instagram:unknown
Youtube:unknown
Twitter:unknown
its.chloeh's pricing:
Nano: $50–$300
Micro: $300–$1,250
Mid: $1,250–$3,500
Macro: $3,500–$12,000
Celebrity: $12,000+
Also, the most commonly and popular used tiktok hashtags in its.chloeh 's most famous tiktok videos are these:
#fyp #foryou #dlaciebie #viral #dcb #fy #tend #foryoupage #obsessed #makeup #makeuptutorial #sheingals #shein #sheinEu #leo
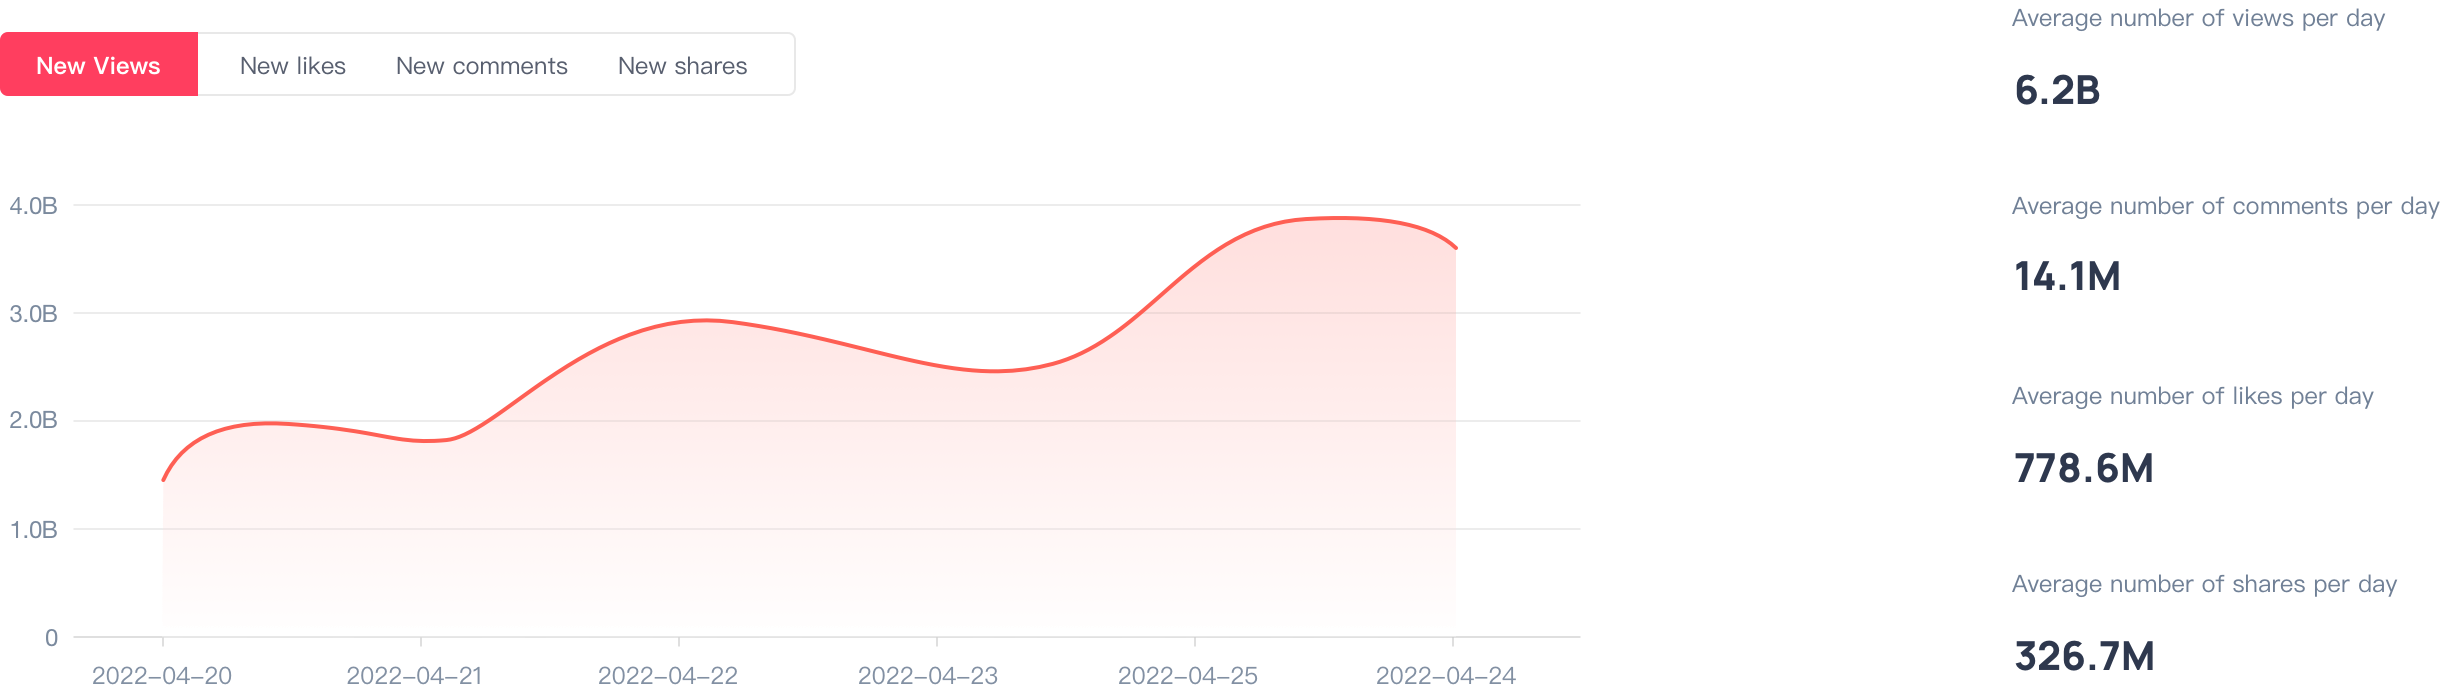
In the past 30 days, he/she has released for following 7 videos, 183488 views, 19970 likes, 84 comments and 497 shares
not only that.
His/her average playback of each video reached 26212.57, an average of 2852.86 likes per video, an average of 12 per video, and an average of 71 sharing times per video.
His/her best and the first three best videos played 90900, 138600, respectively. These three videos are:Welcome to episode 1 of BENTO THIS! I am so excited to be sharing with you my brand-new series where we make desserts in a to-go box. We are going to be taking desserts and inspiration from different flavors to textures, colors, etc… and turning them into a dessert you can assemble in a box. This means you can take your bento cake to-go whenever and wherever. When I first made a dessert in a bento box, I realized that it made complex desserts a bit less intimidating and made decorating way less complicated. Since everything is put together in a box at the end, you can focus on each component separately without feeling overwhelmed. As for the task of assembling, things can be cut up to fit and re-organized without any hassle. It simply makes the process very forgiving. And the very last step of decorating the top, since it’s the only surface visible you can make it as simple or complicated as you wish and it will still look delicious! So here is EPISODE 1: “Tiramisu” Bento Box Cake Cake: Dry Ingredients- 120g Plain Flour 200g Caster Sugar 50g Cocoa Powder, sifted 1/3tsp Baking Soda 2/3tsp Baking Powder 1tsp Salt Wet Ingredients- 100ml Water, warm 3tsp Instant Coffee 100ml Milk Juice of 1/2 Lemon 1 Large Egg 40ml Vegetable Oil 1tsp Vanilla Extract Coffee Syrup: (optional but recommended) 20ml Water 20g White Sugar 1tsp Instant Coffee (or equal parts sugar to a shot of brewed espresso) Cream: 70ml Double Cream 2tbsp Powdered Sugar 2tsp Vanilla Extract 200g Mascarpone Cream ~1tbsp Cocoa Powder Steps: 1. Preheat oven to 170°C and line a 7inch cake tin 2. Combine all the dry ingredients in a bowl and set aside 3. In a cup, combine water and instant coffee. In another cup, combine milk and lemon juice to make “buttermilk” 4. In a bowl, combine the coffee and buttermilk we just made with egg, oil, and vanilla extract. Whisk until homogenous 5. Add the bowl of dry ingredients to the wet and whisk until just combined (it should come together quite easily and quickly) 6. Pour the batter into the cake tin, give it a tap to release the air bubble, and spin the tin 7. Bake at 170°C for 25-30min. If a skewer comes out clean, it’s ready. Leave it to cool completely before removing it from the tin 8. Cut the top of the cake off and cut the cake into the size of your bento box (any container). 9. Make the coffee syrup by combining all the ingredients and allowing the sugar to dissolve. Brush a light layer of the syrup onto the cake 10. In a bowl, whip the double cream with powdered sugar and vanilla until soft peaks 11. In a separate bowl, whip up the mascarpone to loosen it, then add the whipped cream and whip everything together until stiff peaks 12. Spread the cream onto the cake and fill the bento box so there’s a thick layer of cream 13. Dust the top with cocoa powder, and enjoy immediately, or even better, let it set in the fridge for at least 30min then enjoy! #easyrecipes #bakingrecipe #cakerecipe #chocolatecake #calm ; Current breakfast obsession 🤤 #breakfast #breakfastinspo #recipes #easyrecipe #quickrecipes; Apple pie loaf cake 🤤 … coming soon… #asmr #baking #applepie #loafcake #easyrecipe
Published videos
Freeze them so u always have dumplings ready to go! #dumplings #recipes #porkdumplings #howto #homecooking
Welcome to episode 1 of BENTO THIS! I am so excited to be sharing with you my brand-new series where we make desserts in a to-go box. We are going to be taking desserts and inspiration from different flavors to textures, colors, etc… and turning them into a dessert you can assemble in a box. This means you can take your bento cake to-go whenever and wherever. When I first made a dessert in a bento box, I realized that it made complex desserts a bit less intimidating and made decorating way less complicated. Since everything is put together in a box at the end, you can focus on each component separately without feeling overwhelmed. As for the task of assembling, things can be cut up to fit and re-organized without any hassle. It simply makes the process very forgiving. And the very last step of decorating the top, since it’s the only surface visible you can make it as simple or complicated as you wish and it will still look delicious! So here is EPISODE 1: “Tiramisu” Bento Box Cake Cake: Dry Ingredients- 120g Plain Flour 200g Caster Sugar 50g Cocoa Powder, sifted 1/3tsp Baking Soda 2/3tsp Baking Powder 1tsp Salt Wet Ingredients- 100ml Water, warm 3tsp Instant Coffee 100ml Milk Juice of 1/2 Lemon 1 Large Egg 40ml Vegetable Oil 1tsp Vanilla Extract Coffee Syrup: (optional but recommended) 20ml Water 20g White Sugar 1tsp Instant Coffee (or equal parts sugar to a shot of brewed espresso) Cream: 70ml Double Cream 2tbsp Powdered Sugar 2tsp Vanilla Extract 200g Mascarpone Cream ~1tbsp Cocoa Powder Steps: 1. Preheat oven to 170°C and line a 7inch cake tin 2. Combine all the dry ingredients in a bowl and set aside 3. In a cup, combine water and instant coffee. In another cup, combine milk and lemon juice to make “buttermilk” 4. In a bowl, combine the coffee and buttermilk we just made with egg, oil, and vanilla extract. Whisk until homogenous 5. Add the bowl of dry ingredients to the wet and whisk until just combined (it should come together quite easily and quickly) 6. Pour the batter into the cake tin, give it a tap to release the air bubble, and spin the tin 7. Bake at 170°C for 25-30min. If a skewer comes out clean, it’s ready. Leave it to cool completely before removing it from the tin 8. Cut the top of the cake off and cut the cake into the size of your bento box (any container). 9. Make the coffee syrup by combining all the ingredients and allowing the sugar to dissolve. Brush a light layer of the syrup onto the cake 10. In a bowl, whip the double cream with powdered sugar and vanilla until soft peaks 11. In a separate bowl, whip up the mascarpone to loosen it, then add the whipped cream and whip everything together until stiff peaks 12. Spread the cream onto the cake and fill the bento box so there’s a thick layer of cream 13. Dust the top with cocoa powder, and enjoy immediately, or even better, let it set in the fridge for at least 30min then enjoy! #easyrecipes #bakingrecipe #cakerecipe #chocolatecake #calm
01:01Replying to @Venus 🍉🇵🇸 Sourdough Open Toast Topped With a Butterbean, Miso, and sesame dip, Scallion Ribbon Eggs, and Gochujang Ingredients: TOAST- 1 Slice of Sourdough Toast Olive Oil BUTTERBEAN DIP- 1 can of Butterbeans 20g Miso Paste Pinch of Salt (does vary depending on how salty your miso is) 1 Large Clove of Garlic 1 generous tbsp of Tahini 2tbsp Sesame Oil The Juice from 1/4 of a Lemon Ice Cubes Extra water if needed EGGS- 2 Eggs 1 Handful of Scallions Pinch of Salt Splash of Water Drizzle of Vegetable Oil Gochujang 1/4 tsp Gochujang A tiny bit of water, just enough to loosen the paste Steps: 1. Drizzle olive oil over bread and toast until golden 2. In a food processor or blender add all the ingredients for the butterbean dip (except for the ice and water) and blend. Add a tiny bit of water if the dip is too thick to be blended. Once mostly smooth, taste and adjust if needed. At the very end, add the ice and blend one last time to get the dip extra smooth. Set it in the fridge to set 3. Heat a large non-stick pan with veg oil 4. Slice green onions 5. In a large bowl, add the green onion, eggs, salt, and water. Whisk well 6. Pour into the hot pan and make sure the egg covers the entire pan’s surface. Using a spatula, push the egg to the center as it gets cooked. It’ll create this ribbon-like structure. Once it is mostly cooked through, turn off the heat but let the eggs on the pan so any of the last jiggly bits can cook will you set up the toast 7. Combine gochujang with a bit of water to get a drizzle-able sauce 8. Assemble: Start with toast, then a thick layer of the butterbean dip, top with the eggs, and drizzle over the gochujang #breakfastideas #recipes #sourdough #bread #toast #easyrecipe #recipeideas
01:00Current breakfast obsession 🤤 #breakfast #breakfastinspo #recipes #easyrecipe #quickrecipes
00:20Apple Pie Loaf Cake - one of the recipes I make on REPEAT Ingredients: APPLES- 3 Granny Smith Apples 2tbsp White Sugar 2 tbsp Dark Brown Sugar A squeeze of lemon (use about 1/4 - 1/2 of a lemon) Pinch of Salt 1/2 tsp cinnamon Pinch of Ground Cloves Pinch of Ground Ginger (optional) Splash of Vanilla Steps: 1. Peel and dice apples 2. Mix all the ingredients in a saucepan with the apples and cook over medium heat. Stir occasionally 3. When apples are darker and softer (fork tender but not mushy), scoop into a bowl to cool. Leave the remaining syrup from the apple in the pot and bring to a simmer to reduce into a caramel consistency. Transfer into a separate bowl to cool. STREUSEL- 50g Plain Flour 50g Granulated Sugar 25g Cubed Unsalted Butter, Cold Steps: 1. Mix flour and sugar 2. Add the butter and rub it into the flour mixture until a crumb forms. Leave in fridge BATTER- 190g Plain Flour 130g Caster Sugar 1/2tsp Salt 2tsp Baking Powder 1tsp Ground Cinnamon 1 Large Egg, room temp 100ml Milk 80ml Vegetable Oil 1tsp Vanilla Extract Steps: 1. In a large bowl, whisk together egg, milk, oil, and vanilla extract 2. Add flour, sugar, salt, baking powder, and cinnamon 1. Whisk until just combined ASSEMBLE- 1. Preheat oven to 160°C and line a loaf tin with a generous amount of butter and a sheet of parchment paper 2. Pour 1/2 of the batter into the bottom. Add 2/3 of the cooled apples evenly over the batter. 1. Pour the rest of the batter over the layer of apples then smooth it out and add the remaining apples evenly over the top 2. Drizzle 4-5 tsp of the apple caramel syrup we made at the start all of the top and gently swirl it into the top layer of the batter 3. Cover everything with the streusel 4. Bake at 160°C for 45-55min 5. When a skewer comes out clean, let cool a bit and enjoy it room temp or a bit warm with whipped cream and a drizzle of the apple caramel syrup BONUS: you can add some vanilla and powdered sugar to the cream for a little more vanilla ice cream on apple pie vibes. But the cake is on the sweeter side so don’t over-sweeten your cream #applepie #loafcake #calm #easyrecipe #simplerecipe #spicedapple
01:02Chocolate Covered Cream Puffs (a recipe and a fun activity) In my opinion, the best kind of dates or dinner parties always have some kind of hands-on activity involved. My favorite way to spice up the evening is to make what you eat. So if you want a fun, simple, hands-on activity during your next date night, try these. The best part is… everything can be pre-made the day/s before, which makes planning less stressful! Pt 1 - CUSTARD CREAM: 240ml Whole Milk 1tsp Vanilla Bean Paste 1tsp Vanilla Extract (optional, I am just cheap and don’t wanna use 2 tsp of vanilla bean) 3 Egg Yolks 65g Caster Sugar 20g Cornstarch 15g Salted Butter 180ml Double Cream/ Heavy Cream 1. Combine milk and vanilla in a saucepan and bring to a simmer 2. In a bowl, combine egg, sugar, and cornstarch 3. Pour 1/3 of the simmering milk into the egg mixture and whisk. Then, pour it back into the saucepan with the rest of the milk. Whisk over low-med heat until it thickens up 4. Remove from heat and mix in butter 5. Strain the thick custard through a sieve 6. Cover with cling wrap pressed right onto the custard, and chill in the fridge. This can be left for a few days in the fridge 7. On the day of use, whisk cream to medium peak. Add it to the custard and whisk until it is fully combined 8. Place into a pipping bag pt 2 - CHOUX: 45ml Water 40ml Whole Milk 45g Unsalted Butter 1/2tbsp Caster Sugar 1/2tsp Salt 45g Bread Flour 2 Large Eggs 1. Crack eggs into a bowl and mix. Measure 75g of it and set aside. Keep the leftovers for egg wash 2. In a saucepan, combine water, milk, butter, sugar, and salt. Bring to a simmer. Sift in the flour and mix aggressively with a spatula until a dough forms. Continue mixing and cooking until a thin film forms on the bottom of the pan 3. Transfer the dough into a bowl and mix until the mixture is room temp. Gradually pour in the 75g of eggs and watch the mixture turn into a paste-like consistency. You’ll know it's ready when you can insert a spatula and pull it out to form a dangling triangle (reference video) 4. Transfer to a piping bag with a round tip and pipe 6 circles 5. Brush a thin layer of egg wash and bake in a preheated oven at 180°C for 25-30min 6. Let it cool. Make this the day of or the day before. 7. On the day, poke a hole in the bottom or side of the choux and fill it with custard cream pt 3 - CHOCOLATE: 1:1 ratio of Dark Chocolate to Double Cream/ Heavy Cream 1. Microwave chocolate and cream. Stir until smooth 2. Dip filled choux #datenight #creampuff #calm #recipe #bakingrecipe
01:03Crispy Maple Bacon + Sourdough Discard Pancakes - My holy grail recipe Overnight recipe or make it immediately (but I recommend overnight) PANCAKE RECIPE: Ingredients: 200g Sourdough Discard 1 Large Egg 270ml Whole Milk 30g Unsalted Butter, Melted 2tbsp White Sugar 200g Plain Flour 1tsp Baking Powder 1tsp Baking Soda 1tsp Salt Extra butter for the pan Steps: 1. In a bowl, combine sourdough, egg, milk, butter, and sugar. Whisk. The butter will solidify and that is ok! Whisk it well so the butter turns into little tiny chunks of solid butter 2. Add flour, baking powder, baking soda, and salt. Whisk until it's just combined, small lumps are ok 3. Cover and leave in the fridge overnight, or jump to the next step if you must 4. If you did leave it overnight, the batter may look strange, donr worry just give it a mix 5. Heat a pan to medium heat with some butter and pour a large spoonful of batter into the center. Allow it to cook slowly and watch the surface bubble away. When the pancake is covered in holes, give it a flip. Allow the second side to turn golden and it’s done! TIP: if the bubbles aren’t forming but the butter and pancake are already burning, turn down the heat. Slow and steady wins the pancake race 6. Stack the pancakes and top to your liking CRISPY MAPLE BACON: Ingredients: Slices of Bacon Maple Syrup L/D Brown Sugar Freshly Ground Black Pepper Steps: No measurements needed 1. Pre-heat oven to 200°C and line a tray with aluminum foil 2. Pour maple syrup into a small bowl and dunk each slice of bacon into it. You want each bacon to have roughly a nice coat of maple syrup on both sides 3. Lay it flat on the lined tray then sprinkle a little bit of brown sugar all over the bacon 4. Crack a lot of black pepper on top 5. Pop into the oven for ~20. At 10min you could give it a flip but I usually just leave it to bake until the extra maple syrup around the bacon is burnt but the bacon is still sizzling away. When it's at your desired level of caramelization, let it cool to crisp up #pancakes #bakingrecipe #breakfastideas #easyrecipe #sourdough
01:00TODO LO QUE TENGO QUE HACER🥺 TE UNO A WASSAP SI ME PASAS ESTE VIDEO POR INSTA: CARXLOSC #fyp
00:23TODO LO QUE TENGO QUE HACER🥺 TE UNO A WASSAP SI ME PASAS ESTE VIDEO POR INSTA: CARXLOSC #fyp
00:23Similar Talent
JO RY
@joryonpreeya1.35M
Followers
820
Videos
Chiclesito
@chiclesito.181.22M
Followers
98
Videos
GÓTICA🕷️
@gotiicaff1.01M
Followers
217
Videos
Cortosvideosmusicales
@cortosvideosmusicales951.42K
Followers
426
Videos
العائلة سعيدة❤️ sidou ifbb pro
@sidoulolayouyouhani926.43K
Followers
147
Videos
ชาติพาแซ่บ
@fitwithchart902.07K
Followers
1.94K
Videos
Journaliste Miriam K
@miriam_kesanga863.52K
Followers
1.01K
Videos
phyuphyu
@phyuphyu15685840.26K
Followers
183
Videos
Akosipimple
@akosipimple826.38K
Followers
263
Videos
user77112004318
@kino.next811.20K
Followers
0
Videos
Other Talent
Lex
@lexusjustlikethecar306.38K
Followers
710
Videos
เจ้าหญิงสุรา😜🥃🍷🍸🥂
@ning_nong2534139.37K
Followers
1.46K
Videos
Tiếng Nhật Không Khó
@tiengnhatkhongkho82.83K
Followers
341
Videos
Gente’O
@jojobarboy27.04K
Followers
359
Videos
T i a r a
@ucallmeara22.02K
Followers
763
Videos
บออีมอ 🤍
@beemjuju9.70K
Followers
33
Videos
วารี ไกด์เก่า..เล่าเรื่อง
@waree_guide5.00K
Followers
401
Videos
Rheina
@queenrheinaa2.47K
Followers
458
Videos
นมแพะ วินเทจ
@goatmilk.vtg1.99K
Followers
5
Videos
ricivero
@elyrimalaksana1.67K
Followers
1.91K
Videos